What is WireShark? What is this program for? How to get the most out of Wireshark display filters Analyzing wireshark network traffic.
What is the most powerful tool for capturing and analyzing internet traffic today? The answer is simple - Wireshark. It is able to intercept not only outgoing TCP packets, but also incoming ones. This tool is used by many professionals. And hackers do not hesitate to use it. The possibilities of the program are endless. With its help, you can pull any file from the package, view it and check it. The main question is how to do this. This is what we will try to figure out.
What is Wireshark
This utility is designed to control Internet traffic. It intercepts TCP packets that were received by the computer or sent from it. The program's functionality is so rich that the matter is not limited to simple interception. You can view the contents of packages, search for errors, and so on. In addition, you can use WS to pull almost any file out of packages and view it. To better understand what this program is, you need to highlight its main advantages. So the pros:
- cross-platform (there are versions for Linux, Mac, Unix);
- the utility is completely free;
- has a wide functionality;
- customization flexibility;
- the ability to filter traffic;
- creating your own filters;
- interception of packets in real time.
There are really many advantages of this utility. But there are no shortcomings as such at all. No wonder Wireshark is considered the best of its kind for capturing and analyzing TCP packets. Now you need to understand a little about the program itself.
Installation and configuration
You can download Wireshark from the developer's official website. The program is completely free. Please note that the latest version (2.0.5) does not work with Wi-Fi adapters. Therefore, if you need to analyze the traffic of a wireless connection, you should download an older version.
Installation of the utility is standard and will not cause any problems even for beginners. Everything is clear in the installer, even though it is in English. By the way, Wireshark does not exist in Russian in nature, therefore, in order to successfully cope with this software, you will have to strain your memory and remember English. In principle, nothing supernatural is needed to simply capture and view TCP packets. School-level English is enough.
So, the first thing we see after launching the installed program is the main window. For an unprepared user, it may seem incomprehensible and scary.
There is nothing wrong with it. You will be convinced of this now. To get started, you must first select the source from which to capture TCP packets. Interception can be carried out both from an Ethernet connection and from a WLAN adapter. As an example, consider the WLAN option. To configure you need to go to the item "Capture", sub-item "Options". In the window that opens, select your wireless adapter and tick it. To start capturing traffic, just click the "Start" button.

After clicking "Start", packet analysis and capture will begin. A lot of incomprehensible letters and numbers will appear in the window. Some of the packages have their own color coding. In order to understand at least something, you need to determine which color refers to what. Green - TCP traffic, dark blue - DNS, light blue - UDP and black - TCP packets with errors. Now it's easier to understand this mountain of data.

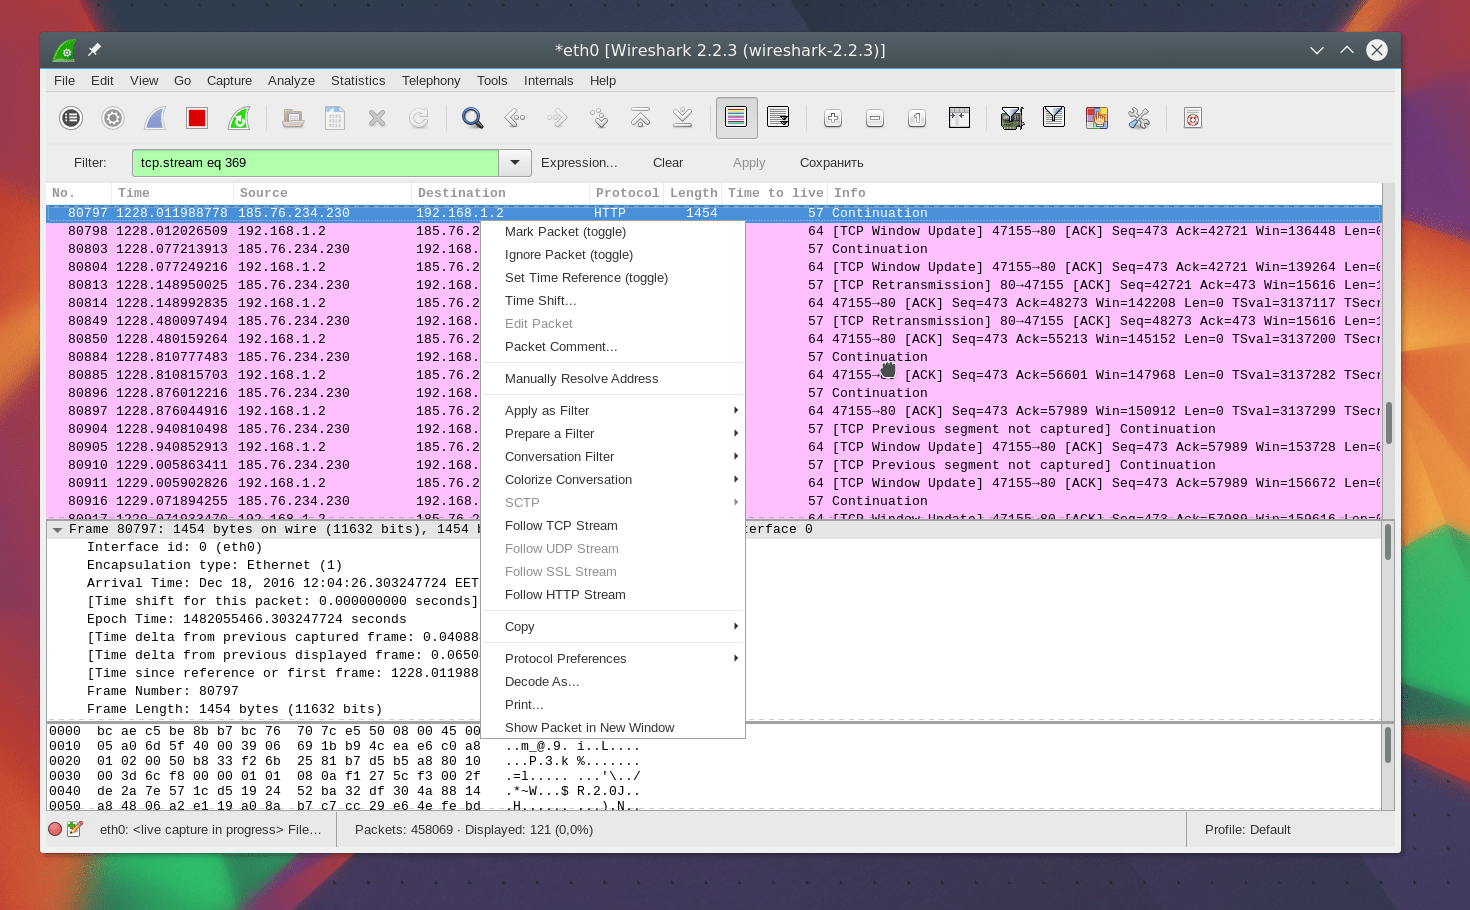
To stop the interception process, just press the Stop button, which is marked with a red rectangle. Now you can select the package you are interested in and view it. To do this, right-click on the packet and select “Show packet in new window” from the menu that appears. A bunch of incomprehensible letters and numbers will immediately appear.

But with an in-depth study of the information presented, you can understand where and where the package went and what it consisted of. In order to view the data about TCP packets later, you need to use the function of saving the captured information. It is located in the "File" menu item, the "Save as" sub-item. Then you can load the information from the file and view it calmly.

Using filters
To display only the information that interests you, you can force Wireshark to use filters and cut off unnecessary traffic. Instructions for fine-tuning filters are available on the Web, but for now we will consider only one example. Let's say you're only interested in TCP packets. In order for the program to display only them, go to the "Capture" menu item, the "Capture filters" sub-item, select the "TCP Only" item and click the "OK" button. 
This way, you can force the utility to display only the traffic that interests you. More details on how to use filters can be found on the Internet. You can even create your own filter template. But that's a completely different story.


Conclusion
Among the programs for capturing and analyzing traffic, Wireshark has established itself as the most worthy utility for solving such problems. Many professionals use it with success. Of course, in order to work in it at a professional level, you will have to improve your knowledge of English and learn some principles of data transfer. But it's worth it. Now, no program on your computer can send tons of unnecessary information to who knows where without your knowledge. Wireshark as an interceptor and analyzer is unmatched.
Video
Software Wireshark is a fairly well-known and advanced tool for tracking network traffic.
The program works equally well under many operating systems, including Windows, UNIX, Linux, Mac OS, Free BSD, Solaris, Open BSD, Net BSD, etc. By themselves, applications of this type are sometimes called sniffers.
This program makes it easy to track traffic using a variety of network protocols such as DNS, FDDI, FTP, HTTP, ICQ, IPV6, IPX, IRC, MAPI, MOUNT, NETBIOS, NFS, NNTP, POP, PPP, TCP, TELNET, X25, etc. . P.
In order to use the program to the fullest extent, there is absolutely no need to possess special knowledge, as I think many users. But first things first.
To begin with, most home or office LANs are built around devices called hubs or hubs.
At the same time, some networks involve the use of switches or routers. This software is intended specifically for the first case, because in the second case, you simply will not achieve efficiency.
How to use Wireshark
So, to run the program, you need ROOT access rights, because only with such rights you can get full access to all network interfaces. The program itself can be started both in normal mode and from the command line.
After that, the main application can be launched.

After starting the program, a window will appear in which you must enter your login and password with access confirmation.
The process of working with the program itself is quite simple.
To start capturing network packets, you just need to go to the main menu, namely Menu / Capture Options, and then select the required interface in the Interface field and click the Start button.

That's all.

Naturally, you can use the additional settings presented in this window.
For example, you can use the delay options, limiting packets that have a certain size that cannot be exceeded during analysis. However, if you are not sure if you need to use certain settings, it is better to leave everything as it is.
For many users this will be the best fit, as the default settings are presented to provide the most appropriate behavior for each network interface.
To end the process of monitoring the reception and transmission of network packets, just press the Stop button, after which the screen will display full information about the process carried out, and the display is performed using the graphical mode, which is quite convenient.

By and large, at the end of the entire process, the report file can be saved for later analysis or processing.
The uniqueness of this software product lies in the fact that, although it has its own protocol, it can track data using protocols other than the main one. This applies not only to the exchange of packets within the local network itself, but is also used to control Internet traffic. Naturally, there is a rather flexible system for sorting the received data with the search for the required element. Enough, just use these functions in the report results.
Actually, there is nothing complicated about it. Finally, we note that the graphical interface is generated using the universal GTK + library, which allows you to quickly and conveniently process input data of many formats.
Introduction
Sometimes problems arise in the operation of a computer network and the network stack of nodes, the causes of which are difficult to detect with well-known statistics collection utilities (such as netstat) and standard ICMP-based applications (ping, traceroute / tracert, etc.). In such cases, to diagnose problems, it is often necessary to use more specific tools that allow you to display (listen) network traffic and analyze it at the level of transmission units of individual protocols ( Sniffing).
Network Protocol Analyzers or "Sniffers" are extremely useful tools to investigate the behavior of network nodes and troubleshoot network problems... Of course, like any tool, for example a sharp knife, a sniffer can be either a boon in the hands of a system administrator or information security engineer, or an instrument of crime in the hands of a computer attacker.
This specialized software usually uses "Promiscuos" mode of the network adapter computer monitor (in particular, to intercept traffic on a network segment, switch port or router). As you know, the essence of this mode is reduced to to process all frames arriving at the interface, and not just intended for the MAC address of the network card and broadcast, as is the case in normal mode.
Product considered in this article Wireshark is a well-known tool for intercepting and interactively analyzing network traffic, in fact, the standard in industry and education. TO key features of Wireshark include: multi-platform (Windows, Linux, Mac OS, FreeBSD, Solaris, etc.); the ability to analyze hundreds of different protocols; support for both graphical operation and command line interface (tshark utility); powerful traffic filter system; export of work results to XML, PostScript, CSV, etc.
An important fact is also that Wireshark is open source software, released under the GNU GPLv2 license, that is, you are free to use this product as you see fit.
Installing Wireshark
The latest version of Wireshark for Windows and OS X operating systems, as well as the source code can be download from the project site ... For Linux and BSD distributions, this product is usually available in the standard or optional repositories. The screenshots published in this article are from version 1.6.2 of Wireshark for Windows. Earlier versions of the program, which can be found in the repositories of Unix-like operating systems, can also be used successfully, since Wireshark has long been a stable and functional product.
Wireshark is based on the Pcap (Packet Capture) library, which provides an application programming interface for the implementation of low-level functions of interaction with network interfaces (in particular, interception and generation of arbitrary transmission units of network protocols and protocols of local networks). The Pcap library is also the basis for well-known networking tools such as tcpdump, snort, nmap, kismet, and so on. For Unix-like systems, Pcap is usually found in the standard software repositories. For the Windows family of operating systems, there is a version of Pcap called Winpcap. You can download from the project site ... However, this is usually not necessary because the Winpcap library is included in the Wireshark Windows installation package.
The installation process of the program is not difficult for any operating system, with amendments, of course, for the specifics of the platform you are using. For example, Wireshark in Debian / Ubuntu is installed so that unprivileged users by default do not have the right to intercept packets, so the program must be launched using the sudo user ID change mechanism (or perform the necessary manipulations according to the standard DEB package documentation).
The basics of working with Wireshark
Wireshark UI is built on GTK + library (GIMP Toolkit). The main window of the program includes the following elements: menu, toolbars and view filters, a list of packages, a detailed description of the selected package, display of package bytes (in hexadecimal form and as text) and a status bar:
It should be noted that the user interface of the program is well-designed, quite ergonomic and quite intuitive, which allows the user to concentrate on studying network processes without being distracted by trifles. In addition, all the possibilities and details of using Wireshark are described in detail in user manual ... Therefore, this article focuses on the functionality of the product in question, its features in comparison with other sniffers, for example, with the well-known console utility tcpdump.
In summary, Wireshark's ergonomics reflect a layered approach to networking. Everything is done in such a way that by selecting a network packet from the list, the user is able to view all headers (layers), as well as the values \u200b\u200bof the fields of each layer of the network packet, starting from the wrapper - the Ethernet frame, directly the IP header, the transport layer header and the application data protocol contained in the package.
The initial data for processing can be obtained by Wireshark in real time or imported from a network traffic dump file, and several dumps for analysis tasks can be combined into one on the fly.
The problem of finding the necessary packets in large volumes of intercepted traffic is solved two types of filters: collecting traffic (capture filters) and his displays (display filters)... Wireshark collection filters are based on the filter language of the Pcap library, i.e. the syntax in this case is similar to that of the tcpdump utility. A filter is a series of primitives combined, if necessary, by logical functions (and, or, not). Frequently used filters can be saved in profile for reuse.
The figure shows the Wireshark collection filters profile:

The Wireshark network packet analyzer also has its own simple but feature rich display filter language. The value of each field in the packet header can be used as filtering criteria (for example, ip.src is the source IP address in the network packet, frame.len is the length of the Ethernet frame, etc.). Using comparison operations, field values \u200b\u200bcan be compared to specified values (for example, frame.len and combine several expressions with logical operators (for example: ip.src \u003d\u003d 10.0.0.5 and tcp.flags.fin). A good helper in the process of constructing expressions is window for setting display rules (Filter Expression):

Network packet analysis tools
While connectionless protocols can be investigated by simply looking at individual packets and calculating statistics, learning how connection-oriented protocols work is greatly simplified with additional capabilities to analyze the course of network interactions.
One of the useful features of Wireshark is Follow TCP Stream (literally, "Follow TCP Stream") the Analyze submenu, which allows you to extract application protocol data from TCP segments of the stream to which the selected packet belongs:

Another interesting item in the analysis submenu is Expert Info Composite, which calls the window of the built-in expert system Wireshark, which will try to detect errors and remarks in packets, automatically select individual connections from the dump and characterize them. This module is under development and is being improved from version to version of the program.
In the statistics submenu "Statistics" collected options that allow you to calculate all kinds of statistical characteristics of the studied traffic, build graphs of the intensity of network flows, analyze the response time of services, etc. So, point Protocol Hierarchy displays statistics in the form of a hierarchical list of protocols indicating the percentage of total traffic, the number of packets and bytes transmitted by this protocol.
Function "Endpoint" gives multi-level statistics on the inbound / outbound traffic of each node. Paragraph "Conversations" (literally, "conversations") allows you to determine the amount of traffic of various protocols (channel, network and transport layers of the model of interaction of open systems), transmitted between nodes interacting with each other. Function "Packet Lengths" displays the distribution of packages by their length.
Paragraph "Flow Graph ..." represents packet streams graphically. At the same time, when you select an element on the chart, the corresponding package in the list in the main program window becomes active:

A separate submenu in the latest versions of Wireshark is dedicated to IP telephony. In the submenu "Tools" there is an item "Firewall ACL Rules", for the selected packet, it will try to create a firewall rule (in version 1.6.x, the formats Cisco IOS, IP Filter, IPFirewall, Netfilter, Packet Filter and Windows Firewall are supported).
The program also has a built-in interpreter for the lightweight the Lua programming language ... Using Lua, you can create your own protocol "decoders" and event handlers in Wireshark.
Instead of a conclusion
The Wireshark network packet analyzer is an example of an Opensource product that is successful both on the Unix / Linux platform and is so popular among Windows and Mac OS X users. Of course, besides Wireshark, there are heavy-weight complex intelligent solutions in the field of network traffic analysis, the functionality of which is much wider. But, firstly, they cost a lot of money, and secondly, they are difficult to master and operate; thirdly, you need to understand that not everything can be automated and no expert system can replace a good specialist. So, if you are faced with tasks that require analyzing network traffic, then Wireshark is the tool for you. And fans of the command line can use the utility tshark - the console version of Wireshark.
Wireshark is a powerful network analyzer that can be used to analyze traffic passing through your computer's network interface. You may need this to detect and resolve network problems, debug your web applications, network programs, or sites. Wireshark allows you to fully view the contents of a packet at all levels, so you can better understand how the network works at a low level.
All packets are captured in real time and provided in an easy-to-read format. The program supports a very powerful filtering system, color highlighting, and other features that will help you find the packages you need. In this tutorial, we'll look at how to use Wireshark to analyze traffic. Recently, the developers moved on to work on the second branch of the Wireshark 2.0 program, which included many changes and improvements, especially for the interface. This is what we will use in this article.
Key features of Wireshark
Before proceeding to the consideration of traffic analysis methods, you need to consider what capabilities the program supports in more detail, with what protocols it can work and what to do. Here are the main features of the program:
- Capturing packets in real time from wired or any other type of network interfaces, as well as reading from a file;
- The following capture interfaces are supported: Ethernet, IEEE 802.11, PPP, and local virtual interfaces;
- Packets can be sifted by many parameters using filters;
- All known protocols are highlighted in the list in different colors, for example TCP, HTTP, FTP, DNS, ICMP, and so on;
- Support for capturing VoIP calls traffic;
- Supports decryption of HTTPS traffic with a certificate;
- Decryption of WEP, WPA traffic of wireless networks with a key and handshake;
- Display of network load statistics;
- View packet contents for all network layers;
- Displays the time of sending and receiving packets.
The program has many other features, but these were the main ones that might interest you.
How to use Wireshark
I assume that you already have the program installed, but if not, then you can install it from the official repositories. To do this, type the command in Ubuntu:
$ sudo apt install wireshark
After installation, you can find the program in the main menu of the distribution. You need to run Wireshark with superuser rights, because otherwise the program will not be able to analyze network packets. This can be done from the main menu or through the terminal using the command for KDE:
$ kdesu wireshark
And for Gnome / Unity:
$ gksu wireshark
The main window of the program is divided into three parts, the first column contains a list of network interfaces available for analysis, the second - options for opening files, and the third - help.
Network traffic analysis
To start the analysis, select a network interface, for example, eth0 and click Start.

After that, the next window will open, already with a stream of packets that pass through the interface. This window is also divided into several parts:
- Top part - these are menus and panels with various buttons;
- Package List - then the stream of network packets that you will analyze is displayed;
- Package content - just below the contents of the selected package is located, it is divided into categories depending on the transport layer;
- Real representation - at the very bottom, the contents of the package are displayed in real form, as well as in the form of HEX.
You can click on any package to analyze its contents:

Here we see the request packet to DNS to get the ip address of the site, the domain is sent in the request itself, and in the response packet we receive our question, as well as the answer.
For more convenient viewing, you can open the package in a new window by double-clicking on the entry:

Wireshark Filters
It is very inconvenient to go through the packages manually to find the ones you need, especially with an active stream. Therefore, it is better to use filters for such a task. There is a special line under the menu to enter filters. You can click Expression to open the filter constructor, but there are a lot of them, so we'll cover the most basic ones:
- ip.dst - target ip address;
- ip.src - sender's ip address;
- ip.addr - ip of the sender or recipient;
- ip.proto - protocol;
- tcp.dstport - port of destination;
- tcp.srcport - port of the sender;
- ip.ttl - filter by ttl, determines the network distance;
- http.request_uri - the requested website address.
You can use the following operators to specify the relationship between a field and a value in a filter:
- == - equal;
- != - not equal;
- < - less;
- > - more;
- <= - less or equal;
- >= - more or equal;
- matches - regular expression;
- contains - contains.
To combine multiple expressions, you can use:
- && - both expressions must be true for the package;
- || - one of the expressions may be true.
Now let's take a closer look at several filters using examples and try to consider all the signs of relations.
First, let's filter out all packets sent to 194.67.215.125 (losst.ru). Type a line in the filter field and click Apply... For convenience, wireshark filters can be saved using the button Save:
ip.dst \u003d\u003d 194.67.215.125

And to receive not only the sent packets, but also the ones received in response from this node, you can combine two conditions:
ip.dst \u003d\u003d 194.67.215.125 || ip.src \u003d\u003d 194.67.215.125


We can also select the transferred large files:
http.content_length\u003e 5000
After filtering out the Content-Type, we can select all the images that were uploaded, analyze the wireshark traffic, the packets of which contain the word image:
http.content_type contains image
To clear the filter you can click the button Clear... It happens that you do not always know all the information necessary for filtering, but you just want to study the network. You can add any field of the package as a column and see its contents in the general window for each package.
For example, I want to display the ttl (lifetime) of a packet as a column. To do this, open the packet information, find this field in the IP section. Then call the context menu and select the option Apply As Column:


You can also create a filter yourself based on any desired field. Select the required field and open the context menu, then press Apply as filter or Prepare as filterthen choose Selected to display only selected values, or Not selectedto remove them:

The specified field and its value will be applied or, in the second case, substituted into the filter field:

In this way, you can add a field of any package or a column to the filter. There is also this option in the context menu. You can also use simpler conditions to filter protocols. For example, let's analyze Wireshark traffic for HTTP and DNS protocols:
Another interesting feature of the program is the use of Wireshark to track a specific session between the user's computer and the server. To do this, open the context menu for the package and select Follow TCP stream.
Then a window will open in which you will find all the data transferred between the server and the client:

Diagnosing Wireshark Issues
You might be wondering how to use Wireshark 2 to detect network problems. To do this, there is a round button in the lower left corner of the window, when you click on it, a window opens Expet Tools... In it, Wireshark collects all error messages and network problems:

The window is divided into tabs such as Errors, Warnings, Notices, Chats. The program can filter and find many network problems and here you can see them very quickly. Wireshark filters are also supported here.

Wireshark traffic analysis
You can very easily understand what exactly the users downloaded and what files they viewed, if the connection was not encrypted. The program does a very good job of extracting content.
To do this, you first need to stop capturing traffic using the red square on the panel. Then open the menu File -> Export Objects -> HTTP:


It is a very powerful utility that has many functions. It is impossible to put all its functionality in one article, but the basic information provided here will be enough for you to master everything you need.
Sometimes, when using the Internet, situations arise in which there is a traffic leak or an unexpected consumption of system resources. Special network tools are used to quickly analyze and locate the source of the problem. One of them, WireShark, will be discussed in the article.
general information
Before using WireShark, you need to familiarize yourself with its scope, functionality and capabilities. In short: the program allows you to capture packets in real time over wired and wireless network connections. Used in Ethernet, IEEE 802.11, PPP and similar protocols. You can also use interception of VoIP call traffic.
The program is distributed under the GNU GPL license, which means - free and open source. You can run it on many Linux distributions, MacOS, and there is also a version for the Windows operating system.
How do I use WireShark?
First, you should first install it on the system. Since one of the most commonly used Linux distributions is Ubuntu, all examples will be shown in it.
To install, just type the command in the console:
sudo apt-get install wireshark
After that, the program will appear in the main menu. You can run it from there. But it is better to do it from the terminal, since it needs superuser rights. You can do it like this:
Appearance
The program has a convenient graphical interface. The user will be presented with a friendly window, broken into 3 parts. The first is directly related to the capture, the second relates to the opening of files and samples, and the third is help and support.
The Capture block contains a list of available network interfaces for capturing. If you select, for example, eth0 and click the Start button, the interception process will start.
The window with intercepted data is also logically divided into several parts. At the top is a control panel with various elements. It is followed by a list of packages. It is presented in the form of a table. Here you can see the serial number of the packet, the time of its interception, the address of sending and receiving. You can also remove data about the protocols used, the length and other useful information.
Below the list is a window with the contents of the technical data of the selected package. And even below there is a display in hexadecimal.
Each view can be expanded in a large window for easier reading of the data.
Applying Filters
In the course of the program's work, tens or even hundreds of packages will always run before the user. It is quite difficult and time-consuming to weed them out manually. Therefore, the official WireShark manual recommends using filters.
There is a special field for them in the program window - Filter. To configure the filter more precisely, there is an Expression button.
But for most cases, the standard set of filters will suffice:
- ip.dst - packet destination ip address;
- ip.src - sender address;
- ip.addr - just any ip;
- ip.proto - protocol.
Using Filters in WireShark - Instruction
To try how the program works with filters, you need to enter a specific command. For example, such a set - ip.dst \u003d\u003d 172.217.23.131 - will show all the packets flying to the Google site. To see all traffic - both inbound and outbound - you can combine the two formulas - ip.dst \u003d\u003d 172.217.23.131 || ip.src \u003d\u003d 172.217.23.131. Thus, it turned out to use two conditions at once in one line.
Other conditions can be used, for example ip.ttl< 10. Данная команда выведет все пакеты с длительностью жизни меньше 10. Чтобы выбрать данные по их размеру, можно применить такой подход — http.content_length > 5000.
Additional features
For convenience, WireShark has a way to quickly select packet parameters as the analyzed field. For example, in the field with technical data, you can right-click on the desired object and select Apply as Column. What does it mean to transfer it to the field area as a column.

Similarly, you can select any parameter and as a filter. For this, the context menu contains the Apply as Filter item.
Separate session
You can use WireShark as a monitor between two nodes on the network, for example, a user and a server. To do this, select the packet of interest, open the context menu and click Follow TCP Stream. A new window will display the entire exchange log between the two nodes.
Diagnostics
WireShark has a separate tool for analyzing network problems. It's called Expert Tools. You can find it in the lower left corner, in the form of a round icon. By clicking on it, a new window with several tabs will open - Errors, Warnings and others. With their help, you can analyze which nodes are failing, packets do not reach, and detect other network problems.
Voice traffic
As already mentioned, WireShark can also intercept voice traffic. There is a whole Telephony menu for this. This can be used to find VoIP problems and quickly fix them.
The VoIP Calls item in the Telephony menu will allow you to view the calls made and listen to them.
Export objects
This is probably the most interesting functionality of the program. It allows WireShark to be used as an interceptor for files transferred over the network. To do this, you need to stop the interception process and export HTTP objects in the File menu. In the window that opens, a list of all files transferred during the session will be presented, which can be saved to a convenient location.

Finally
Unfortunately, it will be difficult to find the current version of WireShark in Russian on the net. The most accessible and frequently used one is in English.
The same is the case with the detailed instructions for WireShark in Russian. The official one from the developer is presented in English. There are many small and quick WireShark tutorials online for beginners.

However, for those who have been working in the IT field for a long time, it will not present any special difficulties to deal with the program. And great opportunities and rich functionality will brighten up all the difficulties in learning.
It is worth noting that in some countries the use of a sniffer like WireShark may be illegal.


